
Greetings!
In today's fast-paced IT environment, organisations need robust tools to manage their service management processes efficiently. JSM Premium offers a suite of advanced features designed to supercharge your IT service management (ITSM) practices and help your teams work smarter and faster.
In this article, we will be exploring the key features that come with upgrading to Premium and how to implement them.
I am splitting this article as follows:
- Part 1: Key Features and Customer Engagement\n- Part 2: ITSM Processes\n- Part 3: Asset Management, Governance and Security (this article)
Asset Management
ITIL Asset Management, also known as IT Asset Management (ITAM), is a framework that assists organisations in efficiently managing their IT assets throughout their lifecycle. This process helps a company maximise value, limit costs, and manage risks by planning and driving the entire lifecycle of all IT assets.
IT Asset Management (ITAM) involves the systematic tracking and utilisation of an organisation’s assets, both physical and digital. It includes cataloguing, deploying, maintaining, upgrading, and responsibly disposing of assets to ensure their optimal use throughout their lifecycle. This lifecycle typically encompasses planning, procurement, deployment, maintenance, and retirement, with a focus on understanding the total cost of ownership and maximising asset value.
Creating the schema
Once the Premium license has been procured, or you have started the free trial of Premium (currently 30 days), you can create the schema for your Asset Register.
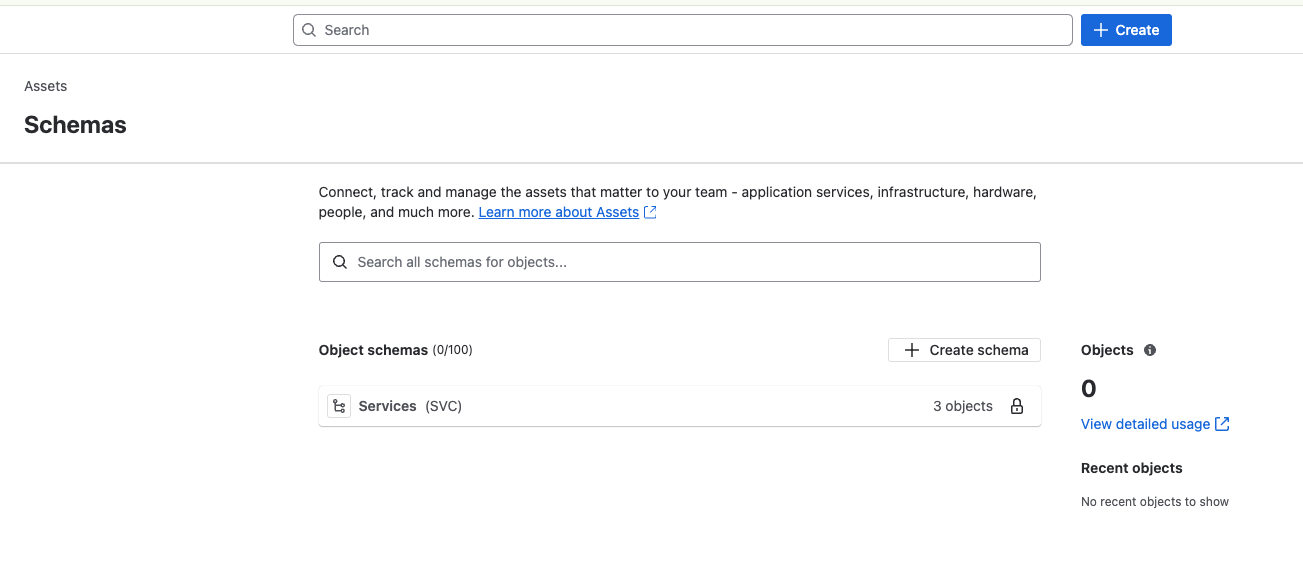
First, you click on Assets, found in the top menu on the screen. This will take you to the schema list page, from which you click on Create schema.
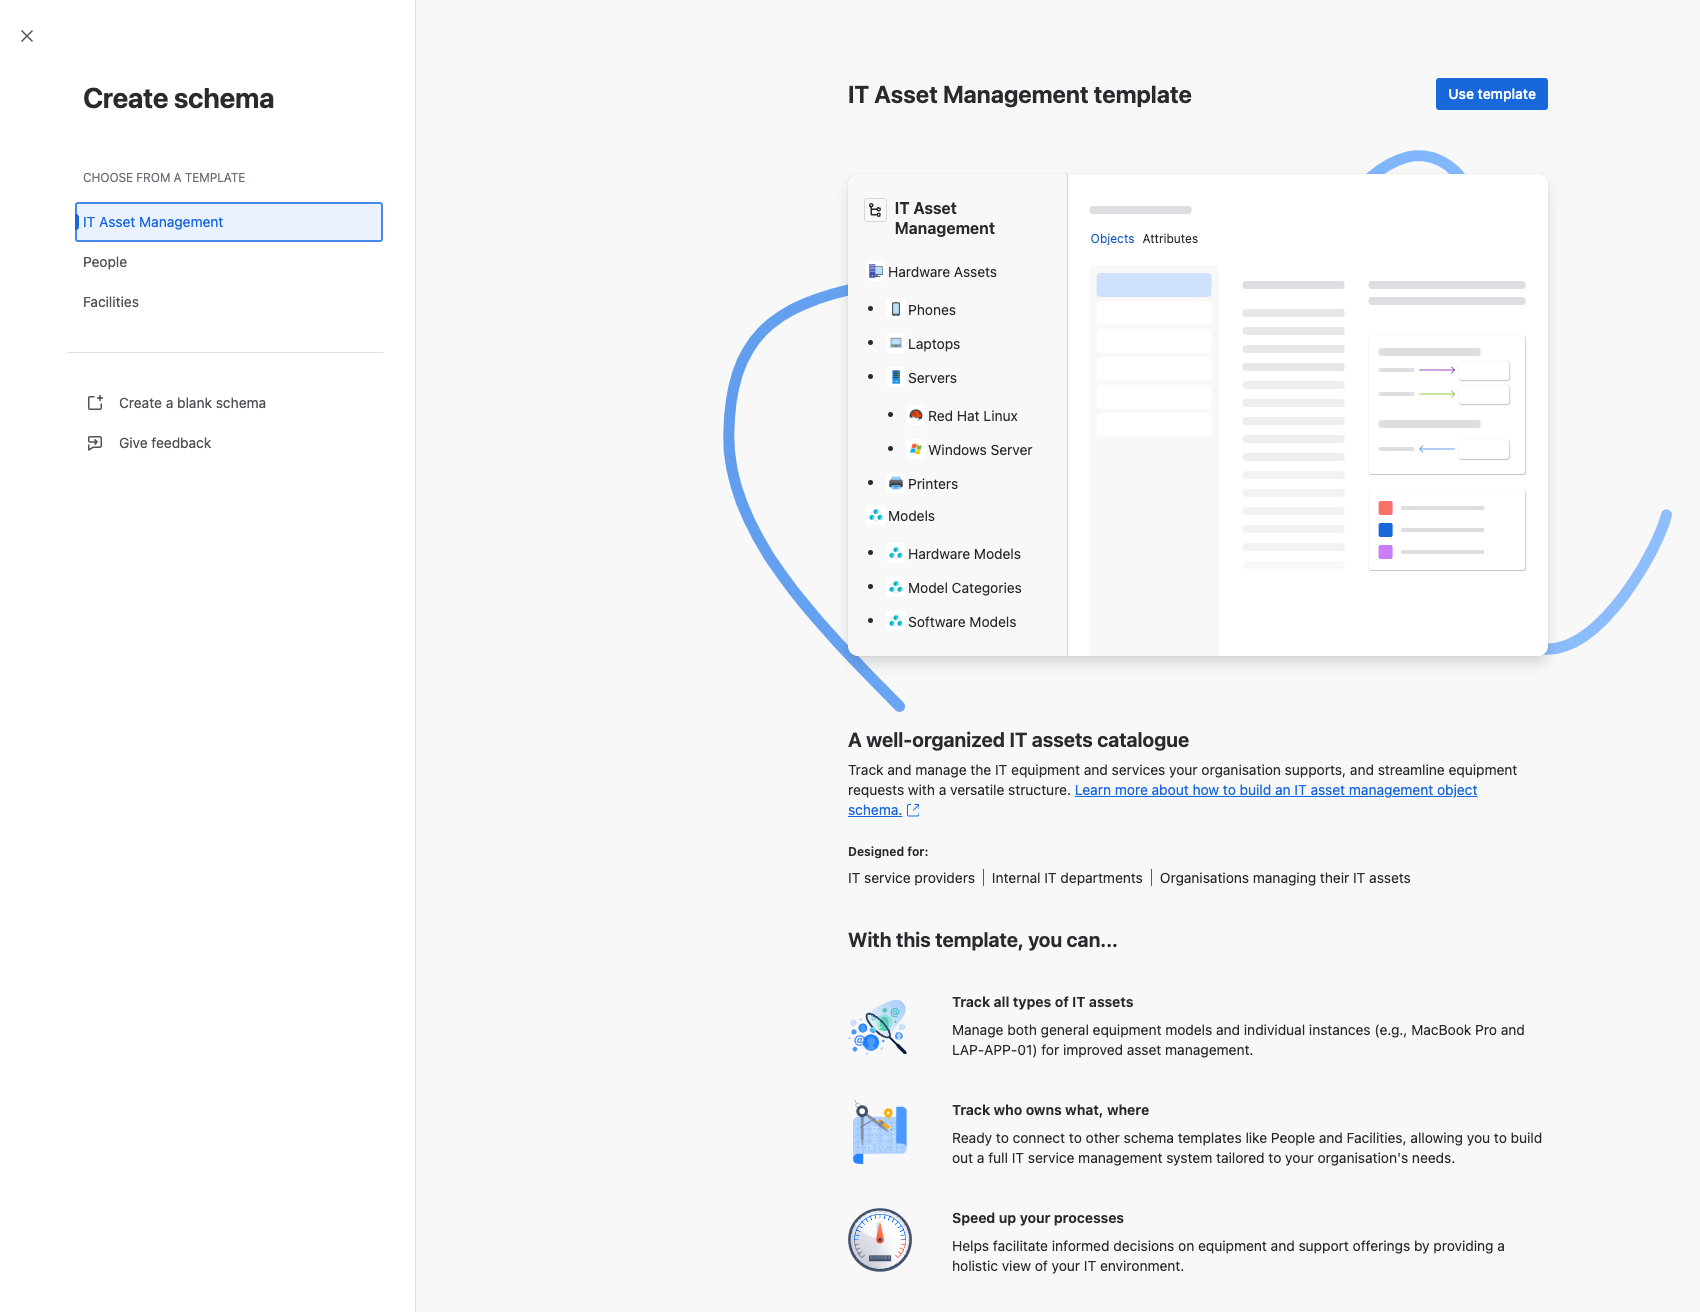
You will be given the opportunity to choose an Atlassian template or start with a blank schema. I will be starting with the IT asset Management template for this demonstration.
The next screen asks you to provide three pieces of information.
- Schema name\n- Key - this will be the prefix for all assets within this schema\n- Description
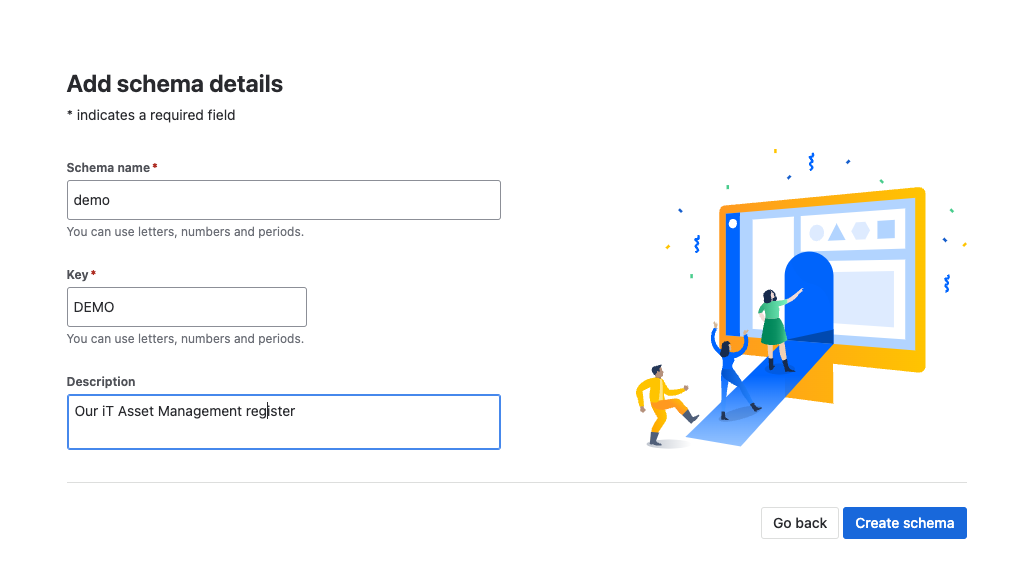
Once you have provided the information you just need to click on Create schema. Your schema will be created and you will be redirected to the main view screen for the schema.
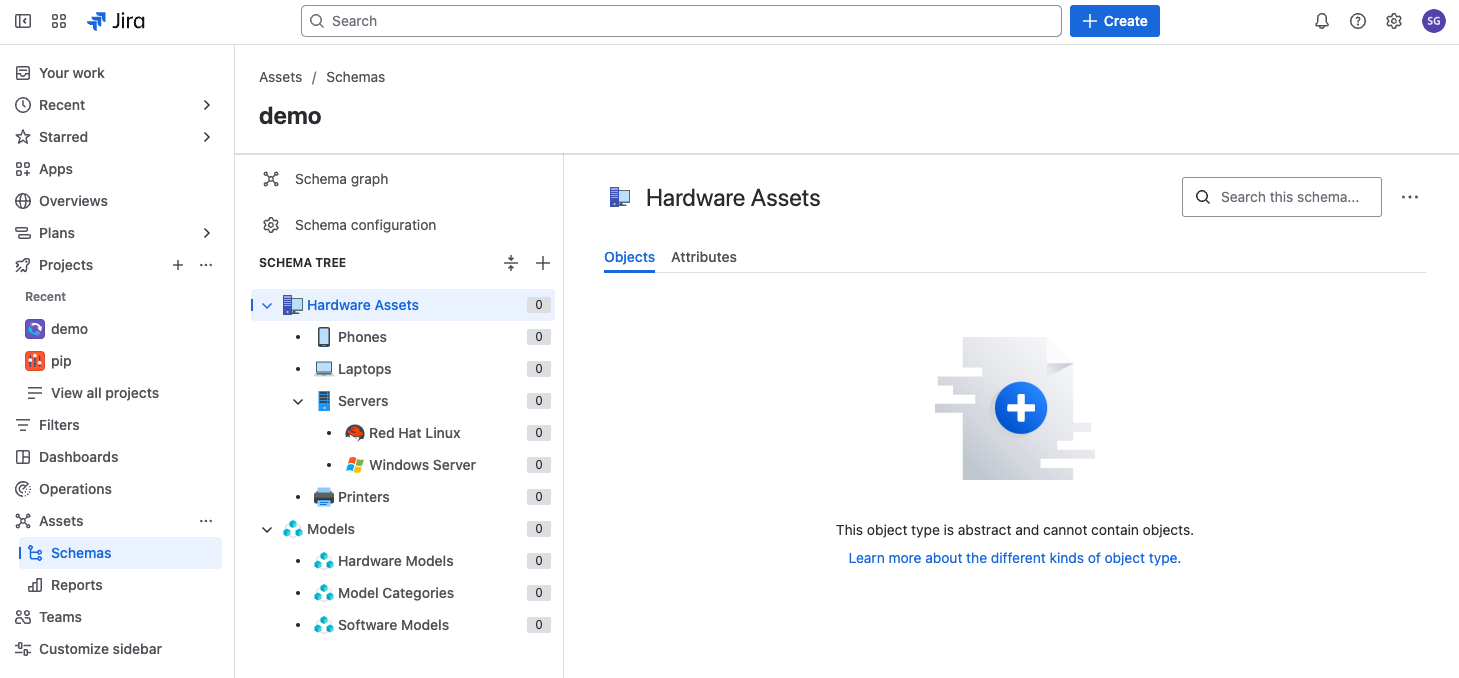
From this screen, you will be able to.
- Amend the schema configuration\n- Add, amend or delete Object Types
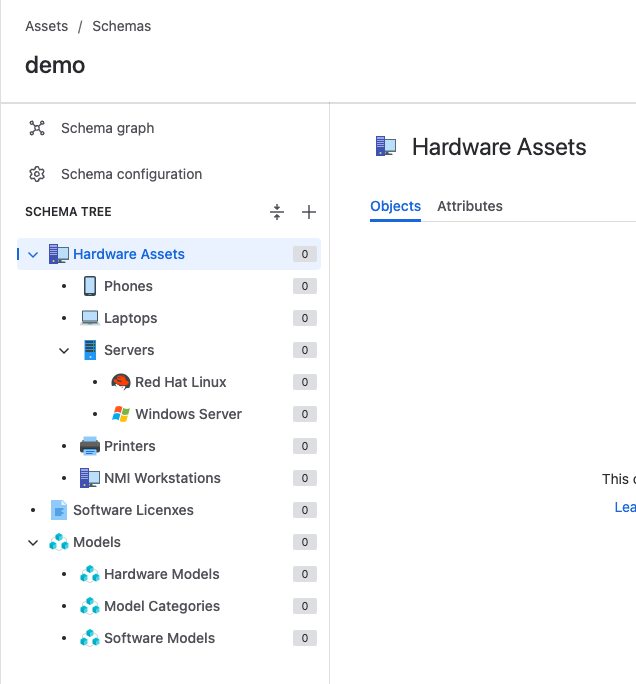
As you will see from the below you can create the schema hierarchy to suit your needs by setting the Parent field. If you want a new top-level object you need to leave this field blank, see Software Licenses in the below screenshot as an example.
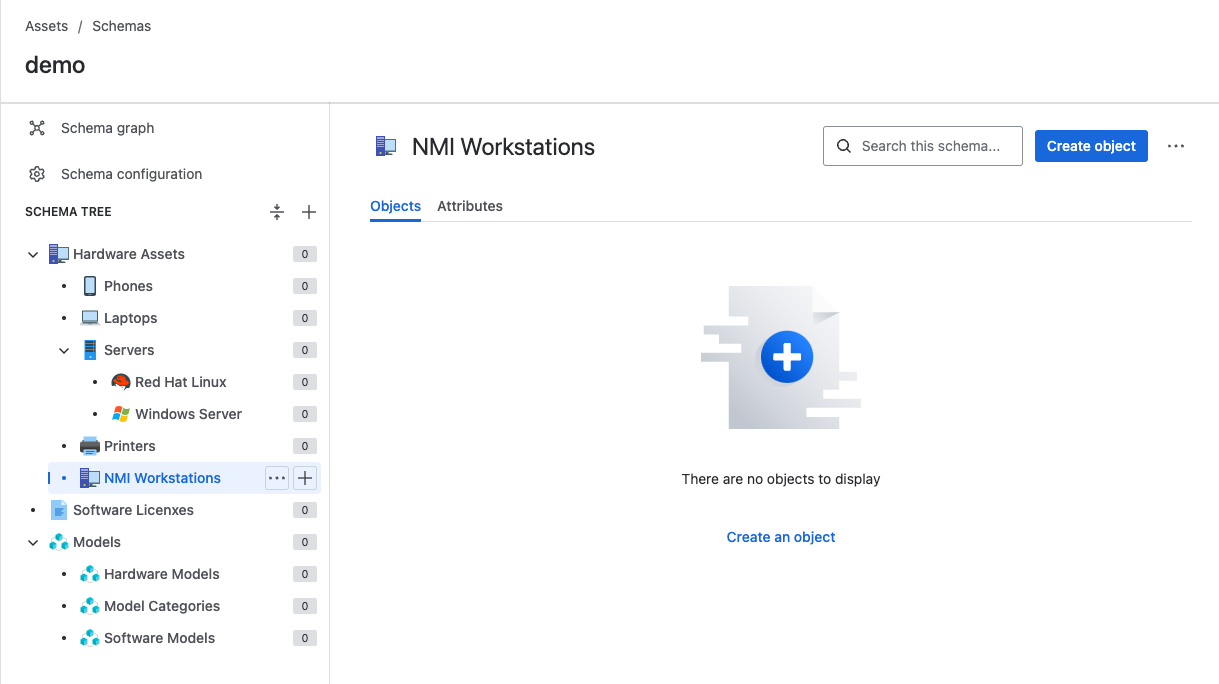
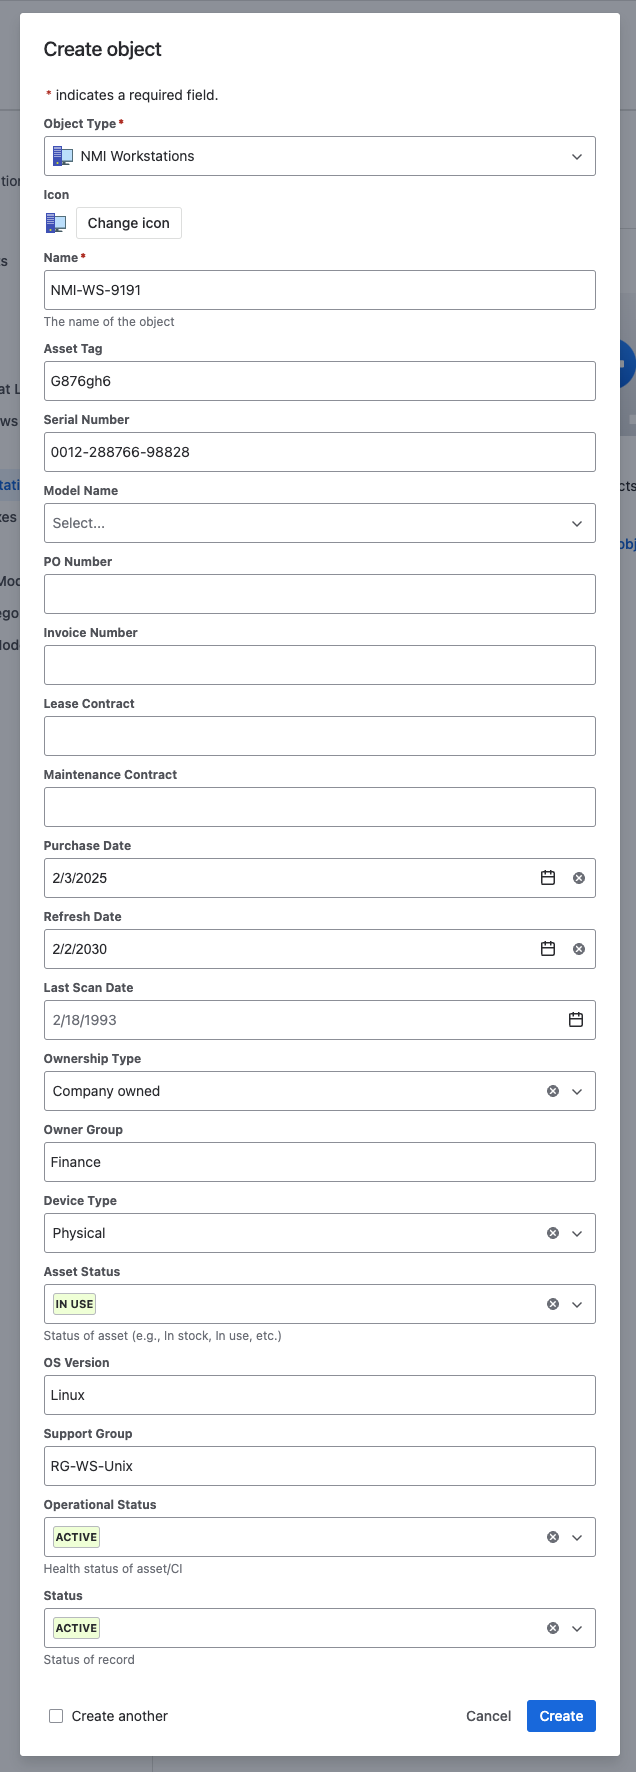
- Create objects (Configuration Items in ITIL terms), by clicking on an Object Type in the lowest part of your hierarchy (NMI Workstations in this example) and filling out the form that is presented to you. Note: different object types have different field sets, so it is worth exploring these before committing to a particular type
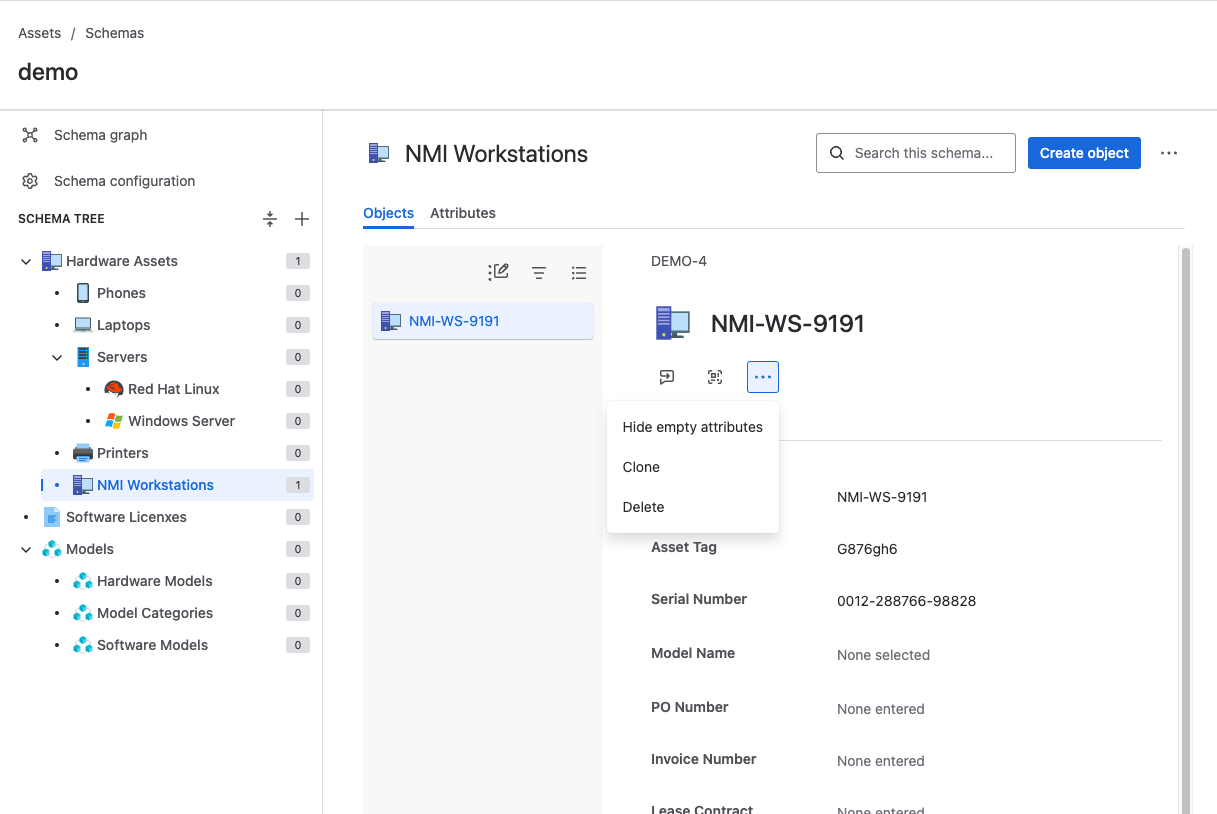
- Amend or delete objects from the schema by clicking on the menu shown below. You will see at the top of the object record the Unique ID for the record with the prefix DEMO
Now, this is all well and good if you only have a small number of assets to manage and their data is relatively static but, if you have thousands of assets that you need to manage, wouldn’t it be nice to be able to import assets into your Asset Register, either using an extract or through integration with a discovery tool.
Importing Assets
JSM gives you the ability to import Asset Data from the Schema Configuration menu, which is accessed from the main schema view screen.
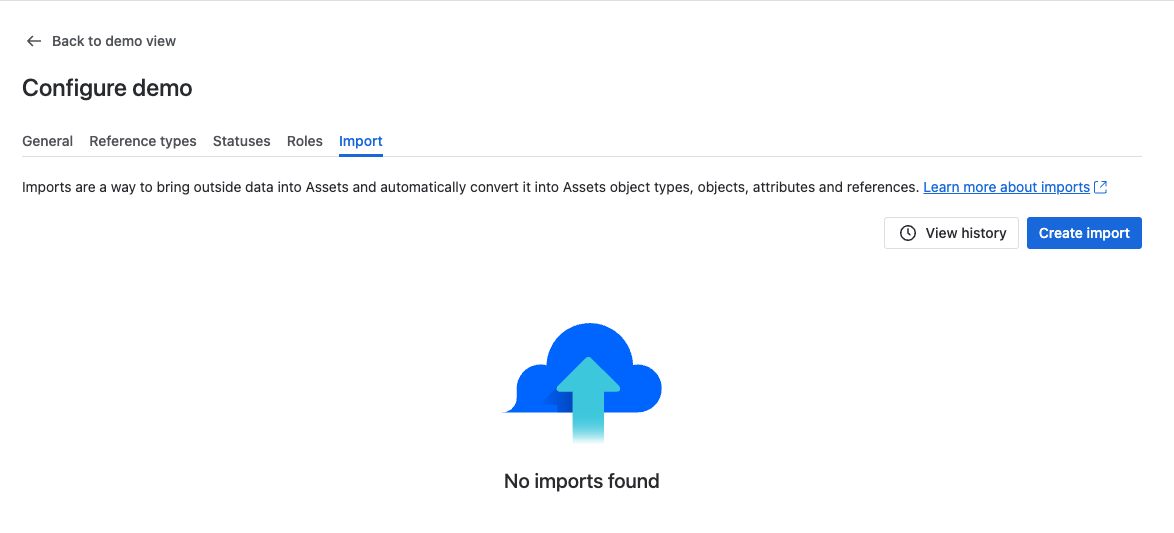
From this screen, you can see all the imports that you have done previously, as well as creating a new import by clicking on the Create import button. You will need to
- Specify the import type that you want to use\n - Discovery Import\n - JSON file Import\n - CSV file Import\n - External Import\n- Define your import structure\n - Import name or reference\n - Add a description, as needed\n - Identify the file, or its location, that you want imported\n - Specify whether you want Object Types and Structures to be created based on the data in your file. This can be useful, if you are starting with a blank schema and want JSM to create based on the content structure of your file, but should be used with caution if you have manually created a schema or used a template\n - Additional options include\n - Being able to specify the encoding format of your data\n - Specifying the character that will be used if data needs to be concatenated e.g. Field Office becomes Field-Office\n - Whether to ignore or remove entries with no data\n - Whether to add or ignore unknown values\n - Specify a Date or Date/Time format
\n### Asset Reporting
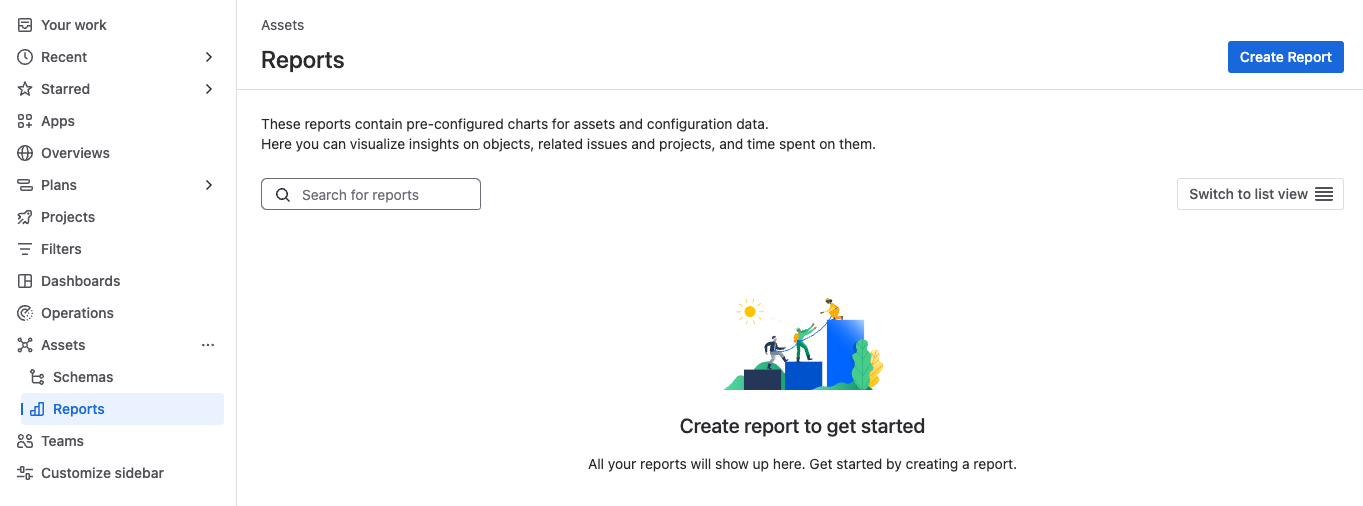
There are a number of templated asset reports that are provided. These are accessed from the side menu, as shown below, from where you can click on Create Report which will open up the template selection screen.
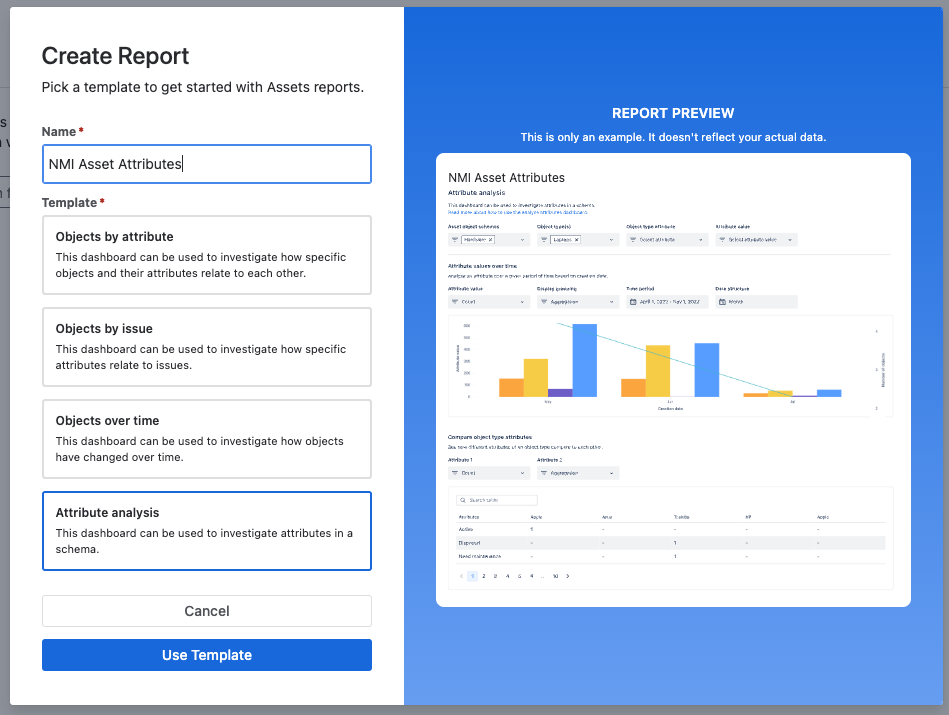
From here you simply specify a meaningful name for the report and select the template you want to use.
From your selection, you will be taken to a report configuration screen. This is where you specify the schema, object types, object attributes etc, that you want your reports to be generated from.
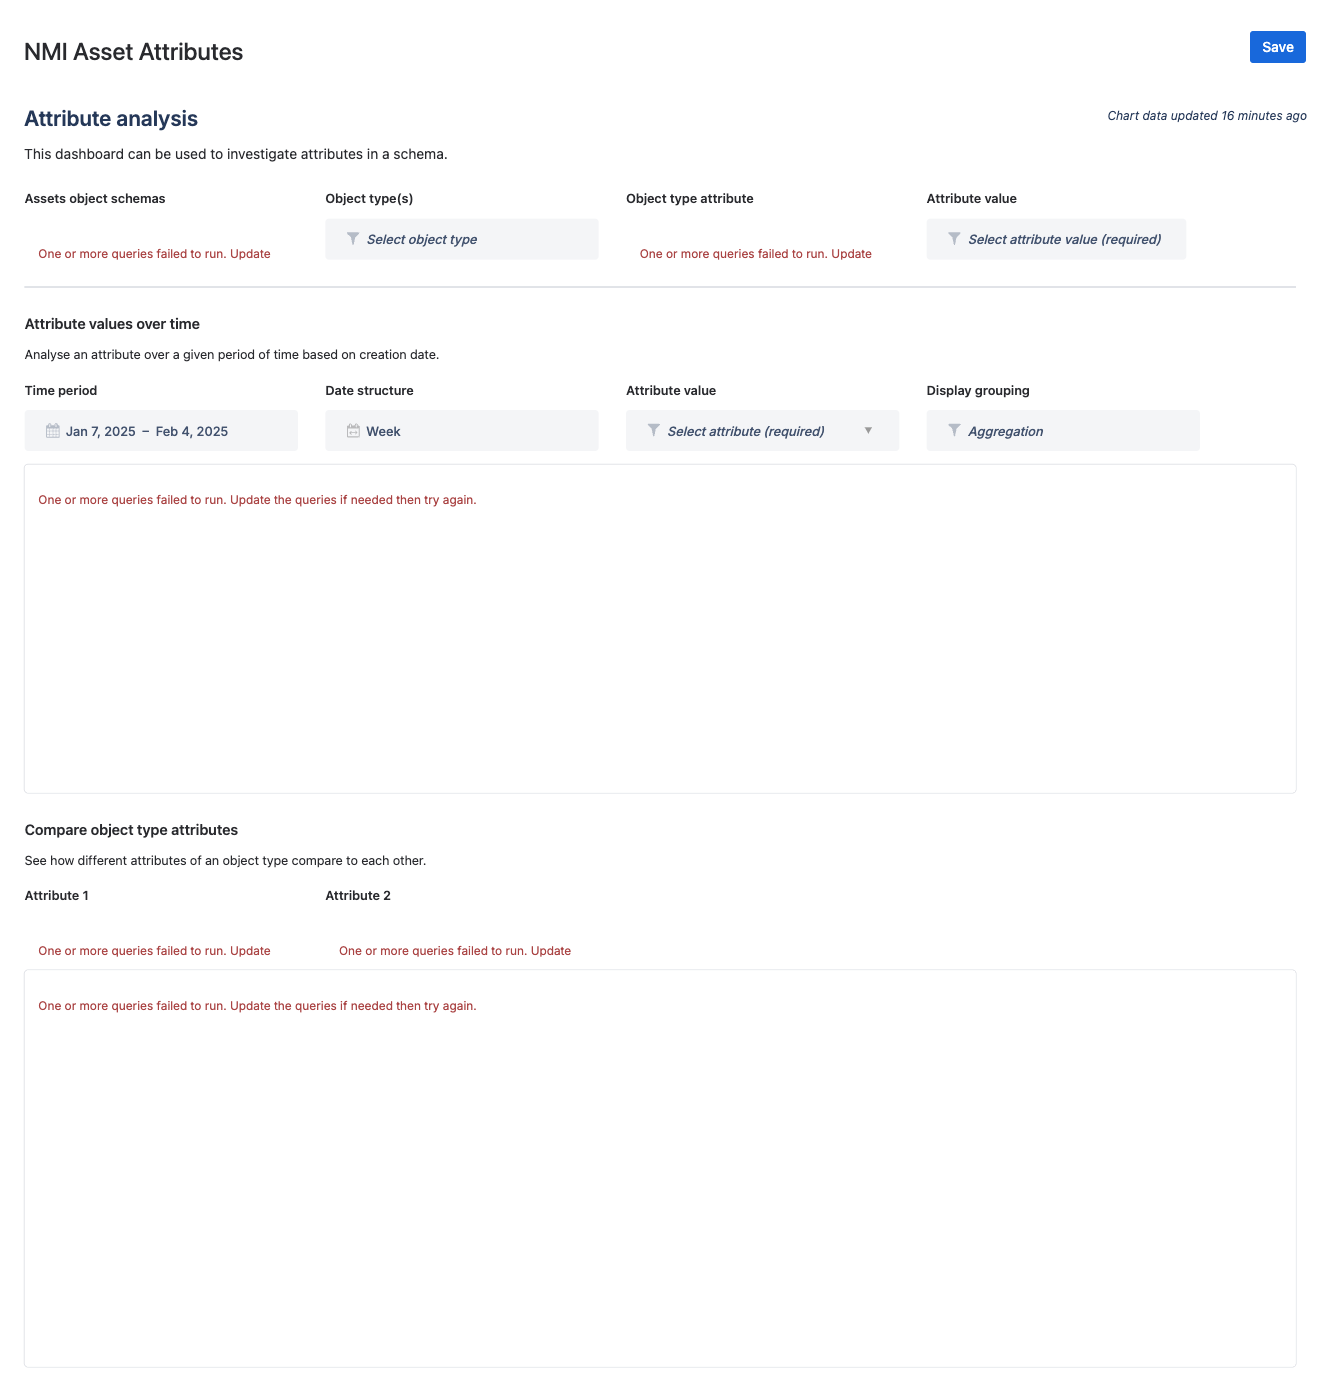
Once you click Save your report will be listed in the main Reports screen.
Linking assets to records
Now having an accurate record of all of your assets is a splendid thing, which can be enhanced by creating custom fields and adding them to the screen for your various request types.
Linking ITSM Configuration Items (CIs) to ITSM process records is essential for several reasons:
- Enhanced Incident and Problem Resolution: By understanding the relationships between CIs, organisations can quickly identify and resolve issues. This comprehensive view of system configurations and dependencies facilitates troubleshooting and enables faster root cause analysis\n2. Improved Change Management: Linking CIs to process records ensures that any changes made to the IT environment are well-documented and understood. This helps in evaluating the impact of changes and reduces the risk of unintended consequences\n3. Effective Release Management: Having detailed information about CIs and their relationships allows for better planning and execution of releases. This ensures that all components are correctly configured and reduces the likelihood of release failures\n4. Efficient IT Service Management: Configuration Management provides accurate and trustworthy information about IT services, supporting decision-making and service delivery. This helps in maintaining consistency in a product's functionality, physical characteristics, and performance\n5. Risk Reduction: Properly linking CIs to process records helps reduce the risk of interruptions and security breaches. It also minimises unnecessary duplication and ensures that all IT services, hardware, and software operate efficiently
Example: Change Management
Navigate to Project settings -> Operations -> Change Management -> Assets.
This screen enables you to link your asset records to Requests for Change (RfCs). This provides assurance that there is no ambiguity as to which specific assets an RfC relates to, and therefore the business risk of the change can be accurately assessed.

The two steps to do this are 1) creating a custom field that maps to your asset schema, and 2) adding that field to your change request types.
Let’s walk through this. Click on the Create custom field link and then the Create custom field button at the top right-hand of the screen that appears.
In the popup form, choose Advanced from the side menu and then the Asset Objects option. Now click on Next.
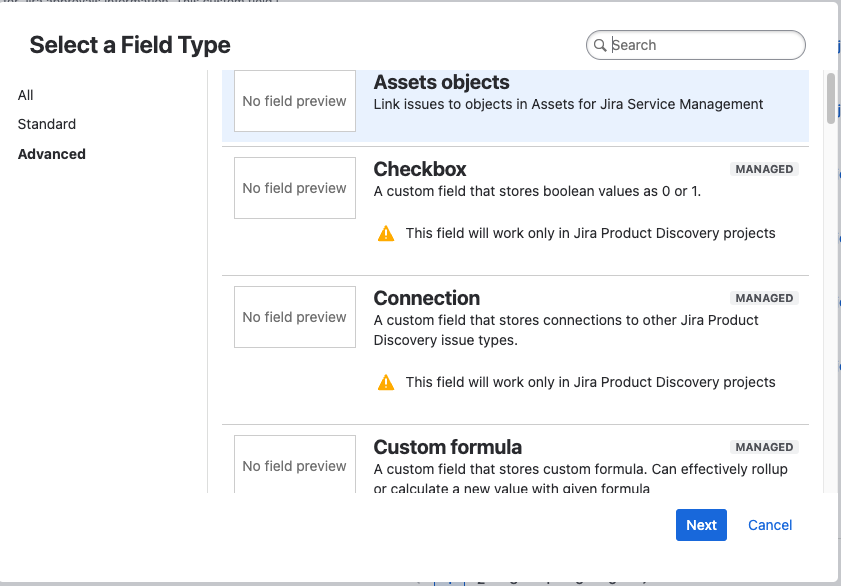
Provide a name for the field and a description. Now click on Create.
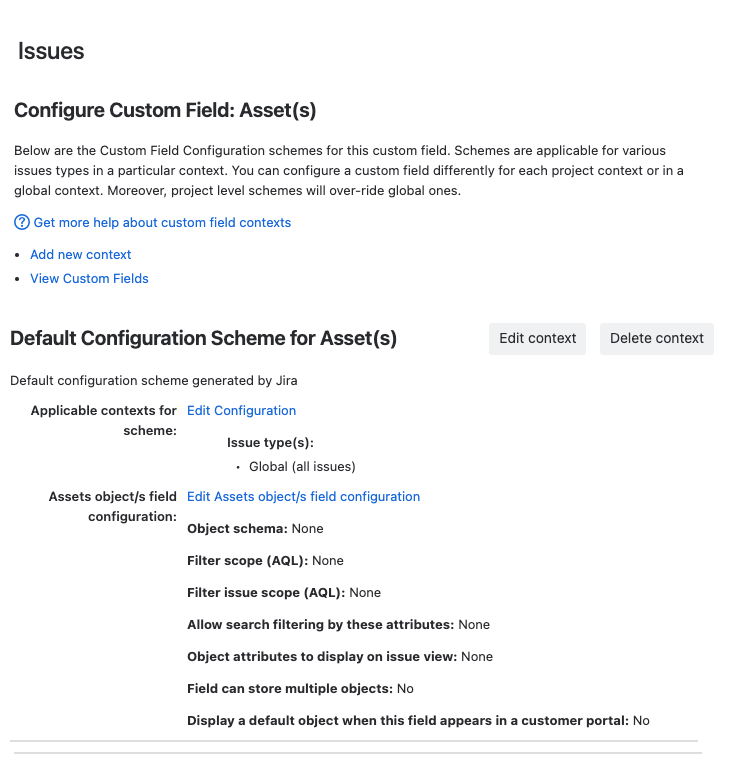
From the list of Custom fields that will appear, click on the name of your newly created field, then open the Context tab and finally the Create, edit or delete contexts link.
From this screen click on the Edit Assets object/s field configuration link.
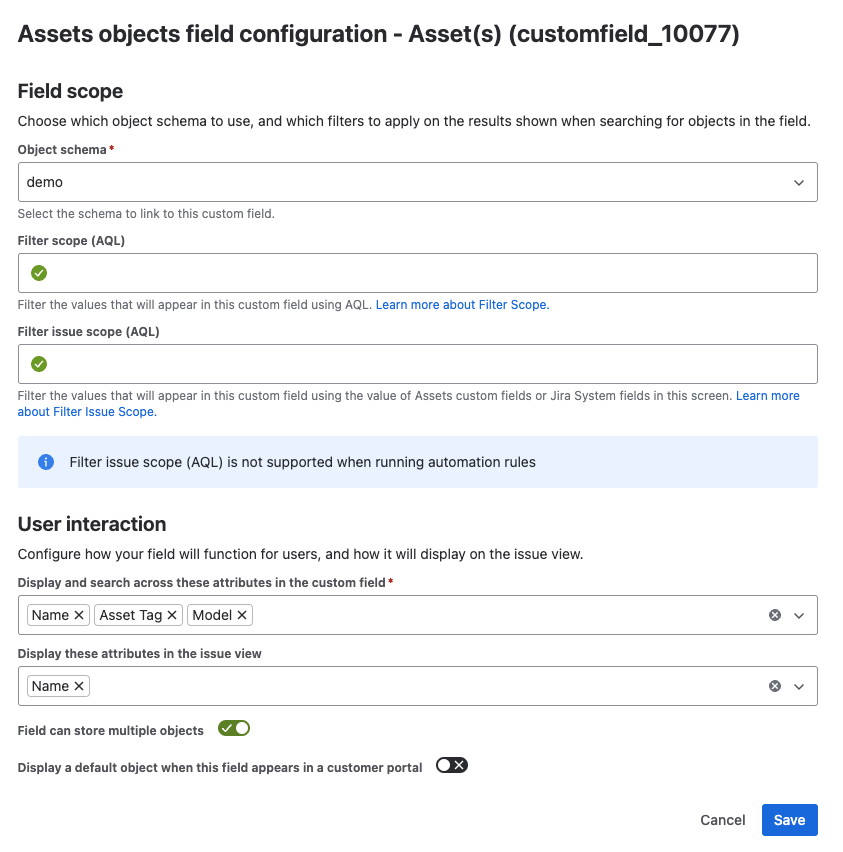
In the next screen, you need to specify, as a minimum.
- Object schema - your asset schema\n- Which fields users can search against in the custom field\n- Which field will appear in the field for the issue view\n- Whether the field allows multiple selects, crucial if your RfCs will relate to more than one asset
Clock on Save when ready.
Now navigate back to the Project settings -> Operations -> Change management -> Assets screen and click on the Request a change link. Note: if you have more than one request type under for changes these will all be listed here.
Now drag your new custom field from the right-hand of the screen and place it where you want it to be in the list of existing fields. Once you are ready, click on Save Changes.
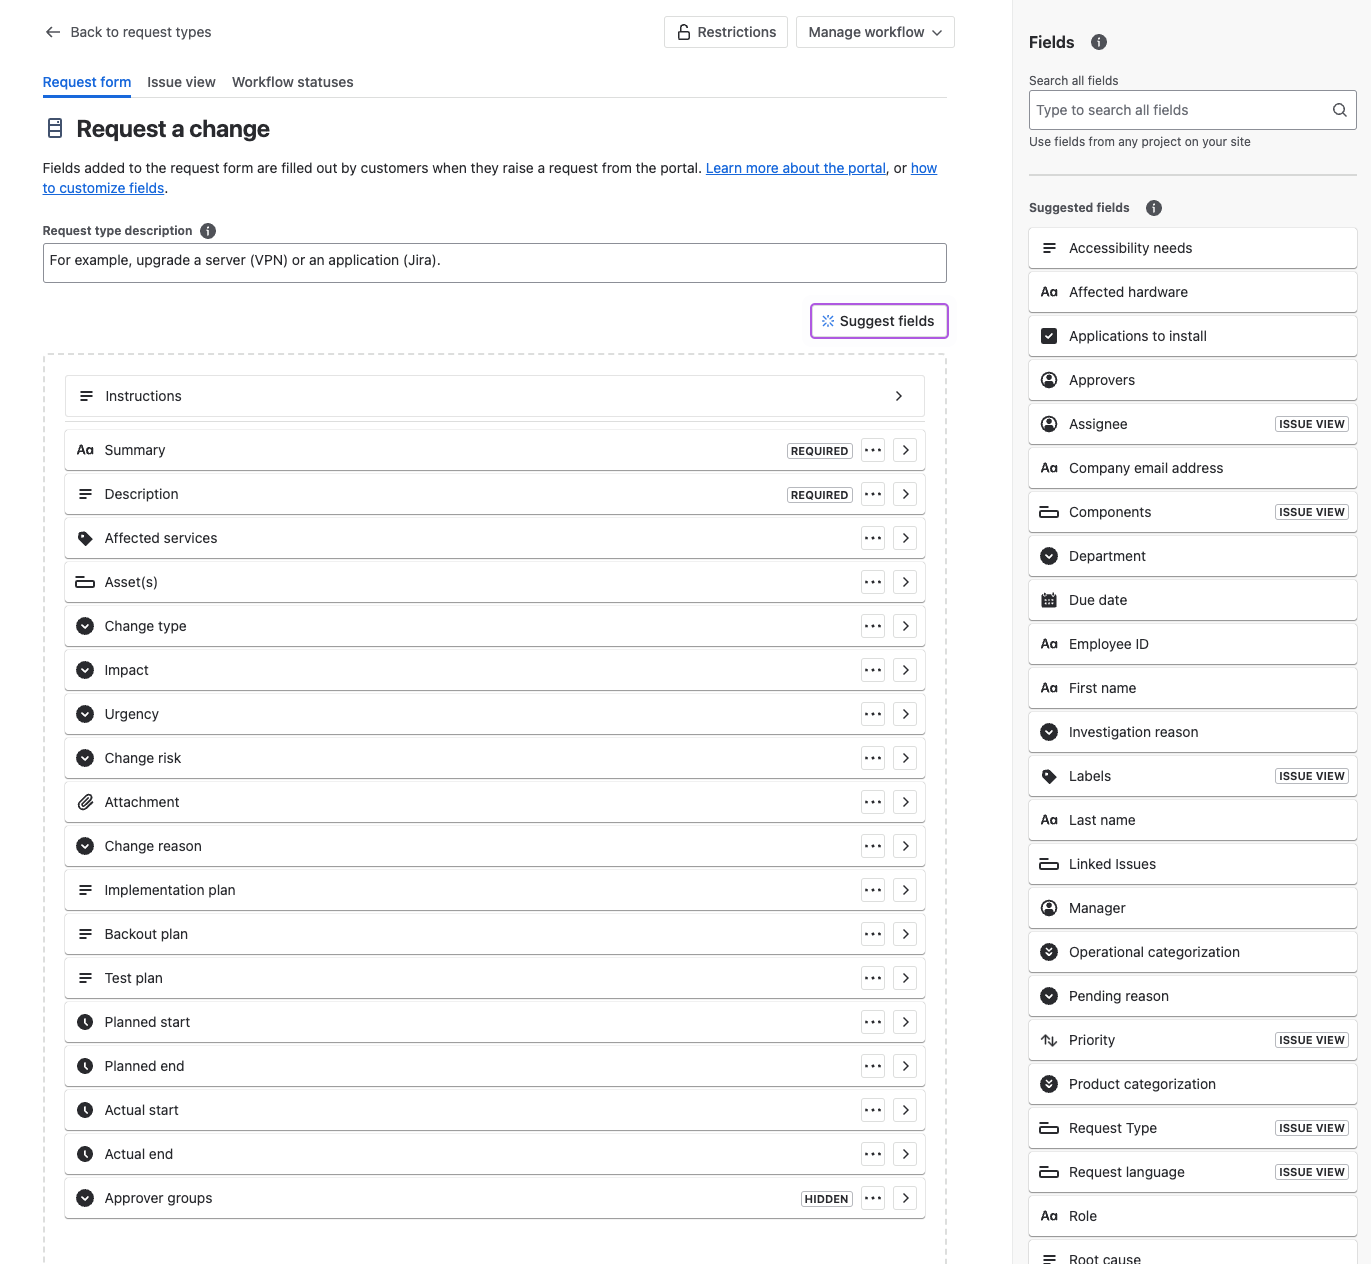
Your field is now visible whenever someone creates or views the assigned request type(s).
Governance and Security
Enhanced Security / Governance Controls
The Premium license model provides additional security and governance capability enhancements for JSM. These are;
- Audit Logs - Troubleshoot a problem or keep a record of important events, like changes to global permissions\n* Data Residency - Choose where key product data at rest is hosted within Atlassian’s global cloud footprint. This helps your business where legislation mandates where data should be held e.g. GDPR, HIPAA etc\n* Admin Insights - Gain a better understanding of your product usage with data, like usage, security, and access insights\n* IP Allowlisting (White Listing) - Limit site access to trusted IP ranges, giving an extra layer of access security\n* Sandbox - Test and control the rollout of updates and new apps in a sandbox copy of your environment\n* Release Tracks - With the option to control Atlassian cloud releases, control when and how changes are released to end users
Single Sign On (SSO) integration (AD / SAML)
Premium also gives you the ability to implement an SSO integration with your project. I have covered this in the 5th post of this series, which can be found here.
Conclusion
In summary, JSM Premium is a comprehensive solution tailored for modern IT service management needs. By harnessing its advanced features, organisations can; streamline their service management processes, enhance efficiency, and provide exceptional service delivery.
From advanced incident management to AI-powered capabilities, and robust support to enhanced security, JSM Premium equips teams with the tools they need to excel in a fast-paced digital landscape.
Embrace the power of JSM Premium and unlock new levels of productivity and reliability in your IT operations.
Hopefully, this has been useful to you and I wish you well on your ITSM journey…


Comments
Loading...