
Creating a NextJS blogging website using Markdown
A quick guide to get you started
Series: NextJS MD Blog, Post #1
First posted: Jun 15 2023
Read time: 10 minutes
Written By: ‘Steven Godson’
Greetings!
In this article, the first in a series, I will take you through creating your own blogging website using the NextJS framework and Markdown files for the content.
A preview of the site can be seen at https://nextjs-13-markdown-blog-website.vercel.app/.
The advantage of this approach versus using a CMS backend e.g. Strapi, Ghost etc, is that you can build and deploy your site using Vercel without incurring any costs.
Being open there are limitations / compromises with this model, which I will talk about later on, but having built many CMS-based sites I like the simplicity of this approach.
Now, let’s get started!
Firstly, you will need to clone the template repo that I have created for this article. This repo contains all you need to get started.
So create your project folder and navigate to it in a terminal. Then run the following.
git clone https://github.com/wookiehunter/nextjs-13-markdown-blog-website.git
Once the clone is complete, run the following to install the project's dependencies and start the project.
npm install && rpm run dev
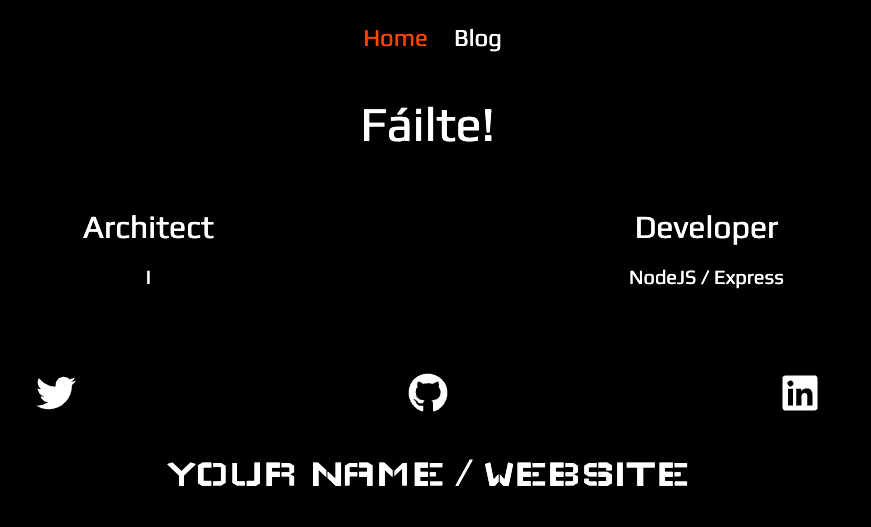
Then, in your browser, navigate to http://localhost:3000 and you will be able to see the following front screen.
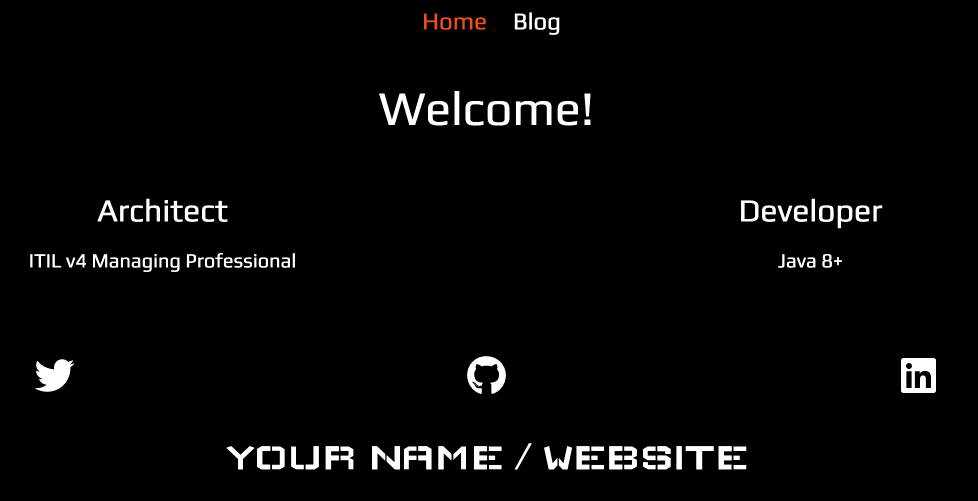
We are now ready to move on and look at the project folder and file structure.
Project Structure
If you haven’t already, open the project using your chosen Code Editor / IDE. I use Visual Studio Code for all Node.js/ReactJS projects.
Folder Structure
The repo that I have provided comes with the following folder structure.

/Components/ - this is where the reusable React components will be kept.
/MD_Templates/ - used to store any templates that you want to use to create your content.
/node_modules/ - this doesn’t come with the repo as it is created when you run the rpm install command.
/Pages/ - this is the folder where you create the structure and pages for your NextJs project.
/Posts/ - this is where we will store the Markdown documents that will be used for your blog posts.
/Public/ - this is the folder where NextJs needs files that will be presented by your website kept, assuming you are not using separate storage or a CDN, such as images and Favicon files.
/Styles/ - CSS files are kept here. I have used CSS module files, but you can use any approach you are comfortable with e.g. Tailwind CSS, SASS, or Bootstrap.
/Utils/ - used to store utility functions used by your project. I have included one for Google Analytics as an example.
Key Files
The key files that we will be focusing on are:

/Components/BlogList.js/ - this is the component that will render your list of posts.
/Pages/blog/[slug].js/ - when you click o a post in your list, this is the page that will control how the post content is displayed.
/Pages/blog/index.js/ - this is the page that renders when you click on the Blog navigation link. You don’t need to use this if you want to show all of your posts on your home page pages/index.js
/Posts/0001-my-first-post.md/ - example of a post.
/Next.config.js/ - we need to add a specific config to this the project works correctly.
How it works…
Webpack Configuration
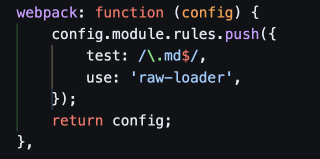
The following needs to be added to the next.config.js file. This allows Webpack to use raw-loader on .md files and create the arrays of Posts that you will showcase on your website.
Using Markdown to create content
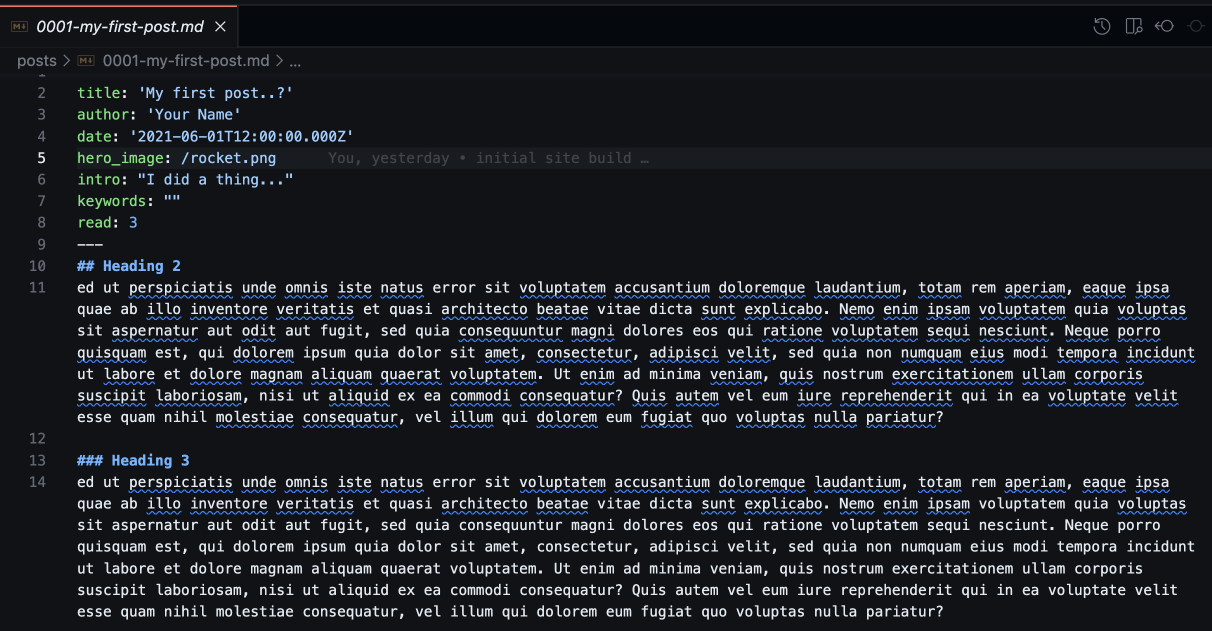
The above shows the format used in the example Markdown post. There are two key sections in the file.
The first section, shown below, is written in YAML and can be thought of as metadata. This specific format is used by the gray-matter dependency package and allows us to use dot notation to access the values e.g. frontmatter.title etc.
---
title: 'My first post..?'
author: 'Your Name'
date: '2021-06-01T12:00:00.000Z'
hero_image: /magic.png
intro: "I did a thing..."
keywords: ""
read: 3
---
/Note: when adding images, you can either point to content in the public folder of the project, as shown in the example, or use a URL to content in a CDN, Image site e.g. Freepik or Unsplash, or cloud-based storage./
The second section is the content of your post and can be written using Markdown syntax, see https://www.markdownguide.org/basic-syntax/ for a basic guide.
Another key consideration is the naming convention that you use for your post .md files.
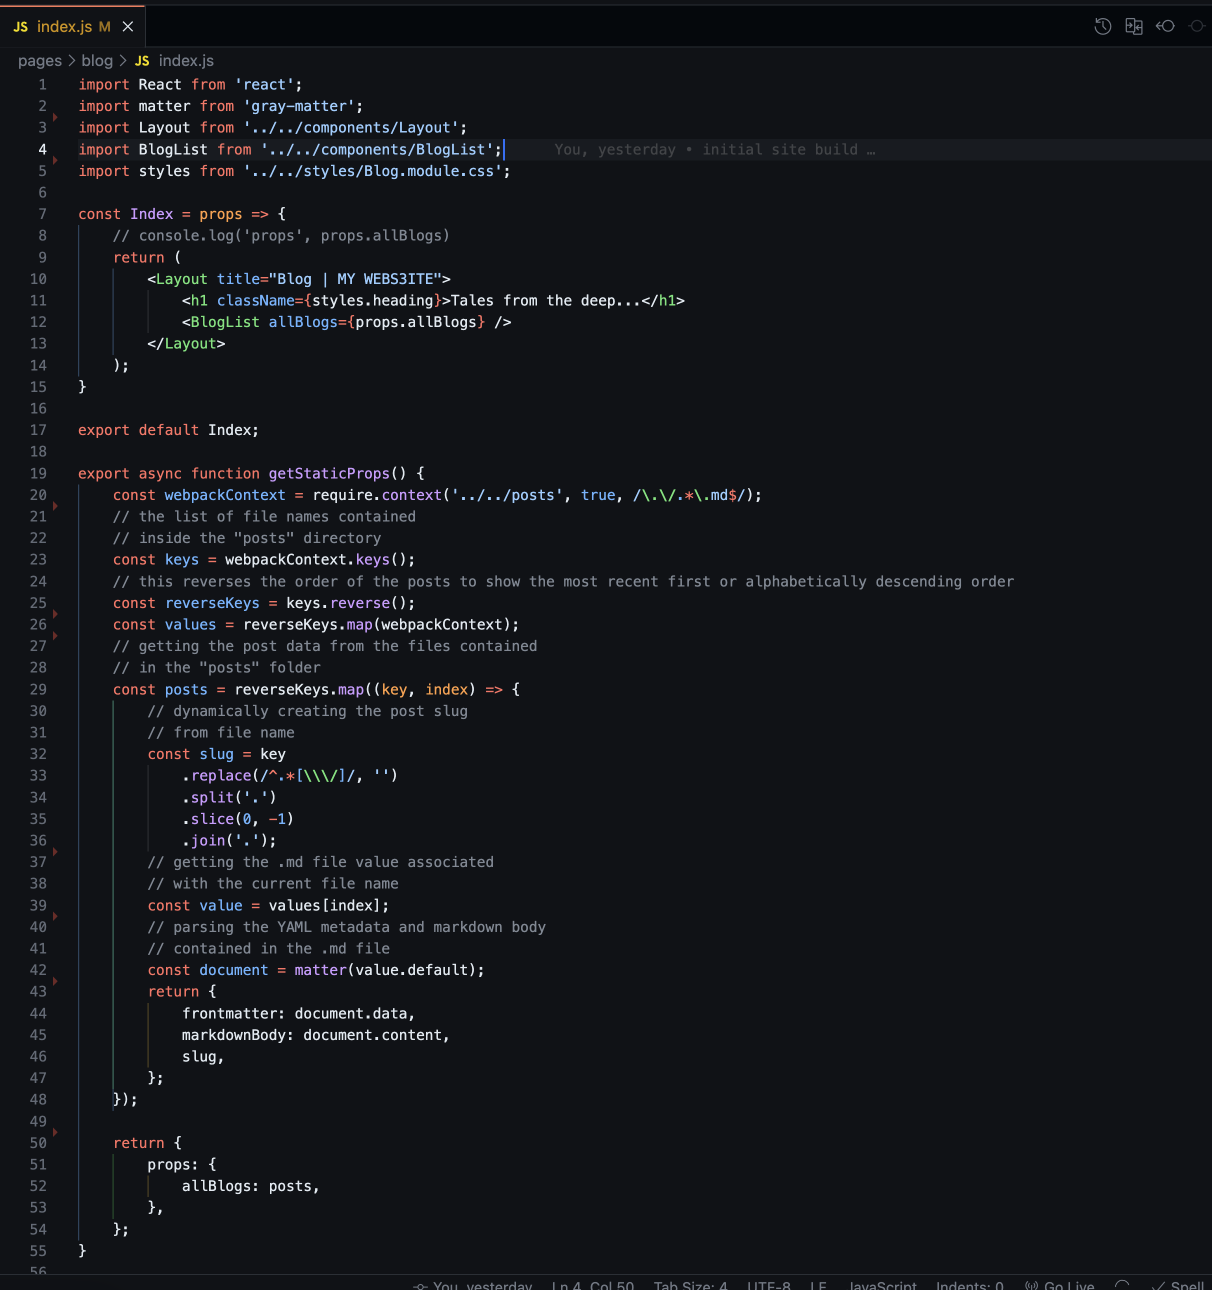
The repo that I have provided has the following code, in the /posts/index.js/ file, which reverses the array of keys that Webpack creates when it interrogates the /posts/ folder.
export async function getStaticProps() {
    const webpackContext = require.context('../../posts', true, /\.\/.*\.md$/);
    // the list of file names contained
    // inside the "posts" directory
    const keys = webpackContext.keys();
    // this reverses the order of the posts to show the most recent first or alphabetically descending order
    const reverseKeys = keys.reverse();
    const values = reverseKeys.map(webpackContext);
    // getting the post data from the files contained
    // in the "posts" folder
    const posts = reverseKeys.map((key, index) => {
        // dynamically creating the post slug
        // from file name
        const slug = key
            .replace(/^.*[\\\/]/, '')
            .split('.')
            .slice(0, -1)
            .join('.');
        // getting the .md file value associated
        // with the current file name
        const value = values[index];
        // parsing the YAML metadata and markdown body
        // contained in the .md file
        const document = matter(value.default);
        return {
            frontmatter: document.data,
            markdownBody: document.content,
            slug,
        };
    });
This is because I use a naming convention that allows for the newest posts to be shown at the top of the web page (the specific format I use is yyyy-mm-dd-post-name.md). If you want to show your posts in alphabetical or some other order, you can amend the code easily.
Just replace the above with.
export async function getStaticProps() {
    const webpackContext = require.context('../../posts', true, /\.\/.*\.md$/);
    // the list of file names contained
    // inside the "posts" directory
    const keys = webpackContext.keys();

    const values = keys.map(webpackContext);
    // getting the post data from the files contained
    // in the "posts" folder
    const posts = keys.map((key, index) => {
        // dynamically creating the post slug
        // from file name
        const slug = key
            .replace(/^.*[\\\/]/, '')
            .split('.')
            .slice(0, -1)
            .join('.');
        // getting the .md file value associated
        // with the current file name
        const value = values[index];
        // parsing the YAML metadata and markdown body
        // contained in the .md file
        const document = matter(value.default);
        return {
            frontmatter: document.data,
            markdownBody: document.content,
            slug,
        };
    });
At this point, it would be a good idea for you to create some test posts for yourself.
Showing your content on your website
Now that we have content we can discuss how it is shown on the website.
There are three files that are key to creating, showing, and reading the posts in this project.
The first two are the blog/index.js file
And the components/BlogList.js file

The first uses Webpack to get the post data and passes it to the second so it can render on the screen.
/Note: you can easily move the code from the first file to your root index.js file if you don’t want a separate posts page./
The third and final file is /pages/blog/[slug].js/ which shows all of a post's content, at least that which you choose to show when a post is clicked on in the list.
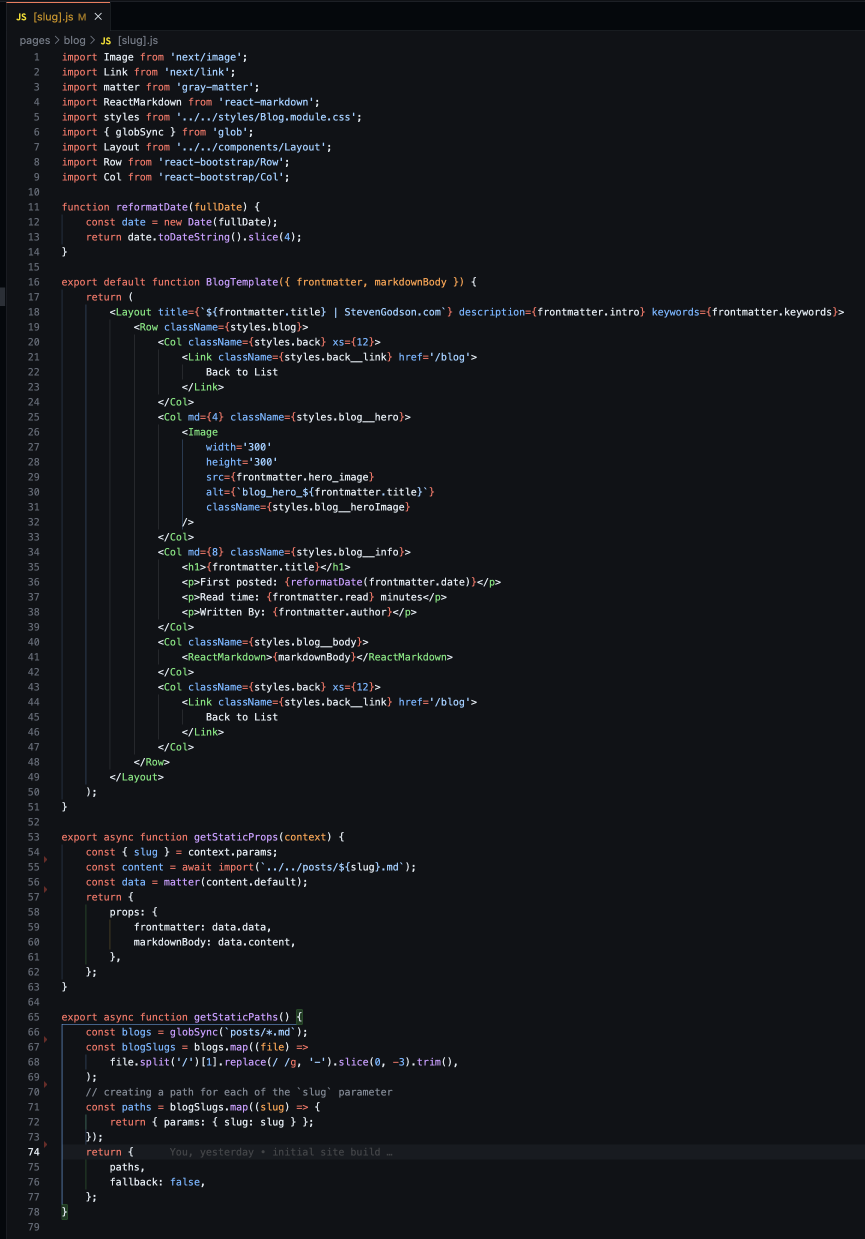
As you can see this has both the frontmatter data and markdownBody content passed into it so that you have access to all of the content in your .md files.
I have used a combination of react-bootstrap and CSS to create a layout and style the content. As mentioned before you are free to use whatever styling approach works for you.
Let's fire it up…
We are now ready to run the project and see our content. To do this you simply need to:
-
navigate to the root folder in your terminal and run
npm run dev -
open your browser and navigate to /localhost:3000/
The following should be visible on the screen.
Now click on the Blog link at the top and…
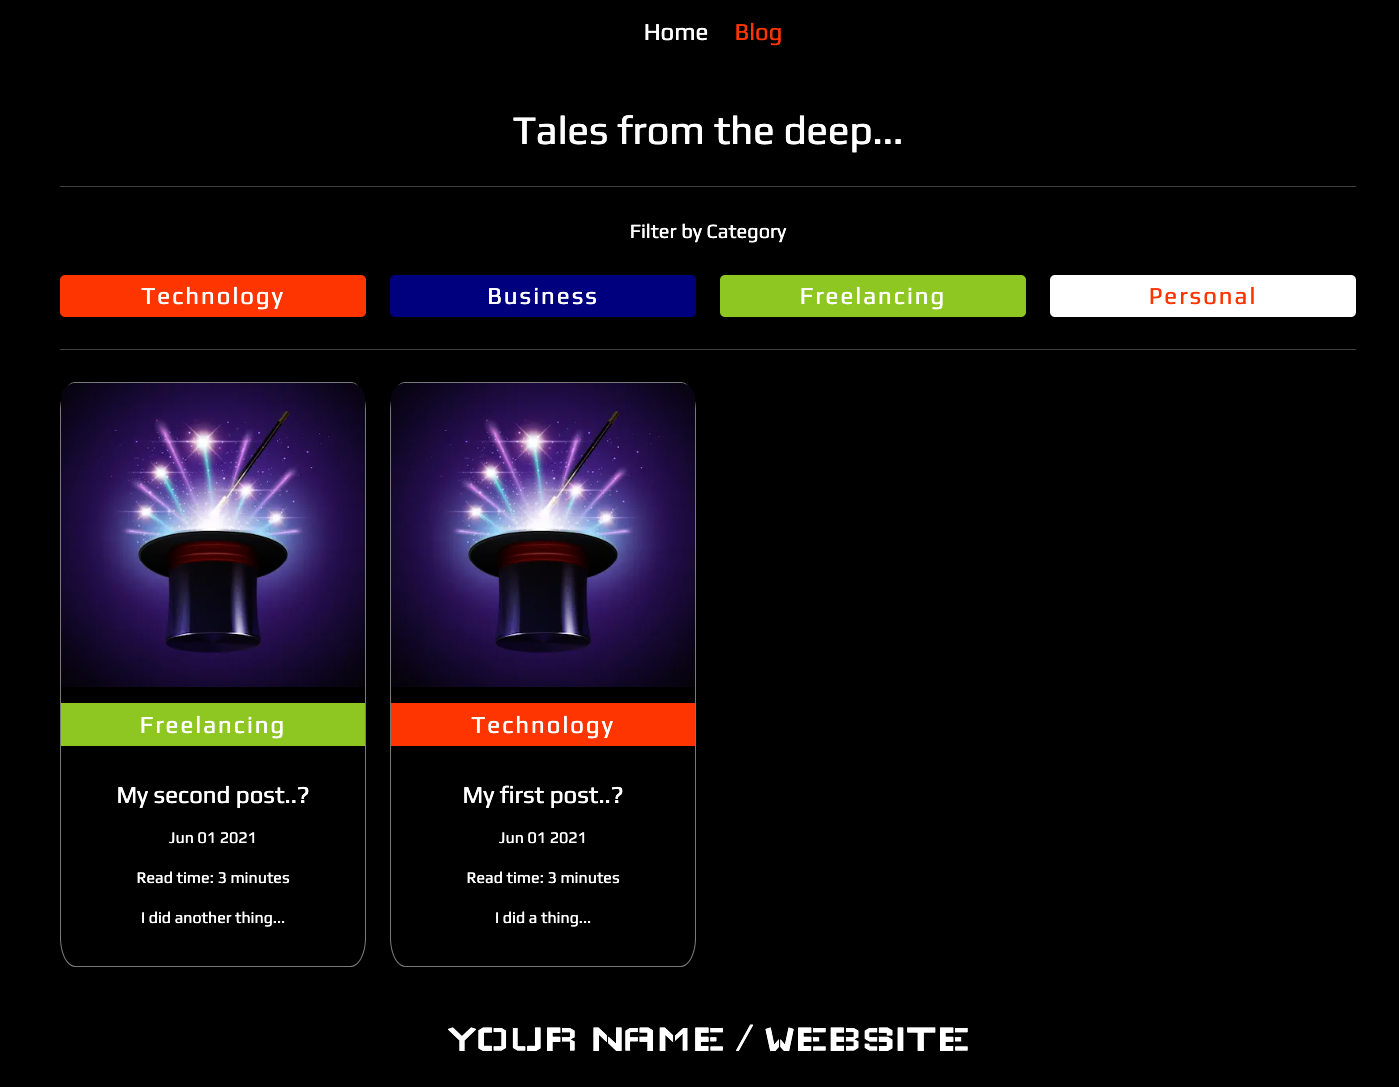
Your posts are showing on your blog page and the content is accessible.
In Part 2 of this series we will be looking at the filters, discussing how these are used and how best to implement them.